DIY Art: Turmeric Anthotypes
In May, I’ll be leaving North Carolina for my new home in Maine. Packing is a drag, managing a complex repair project on my Maine house from afar is less relaxing than it sounds, and writing is something that I fit in around the edges.
But still, when I ran across a YouTube video on printing with turmeric, it seemed like a good way to make some art commemorating the time I spent gardening on this charming but challenging Durham lot.
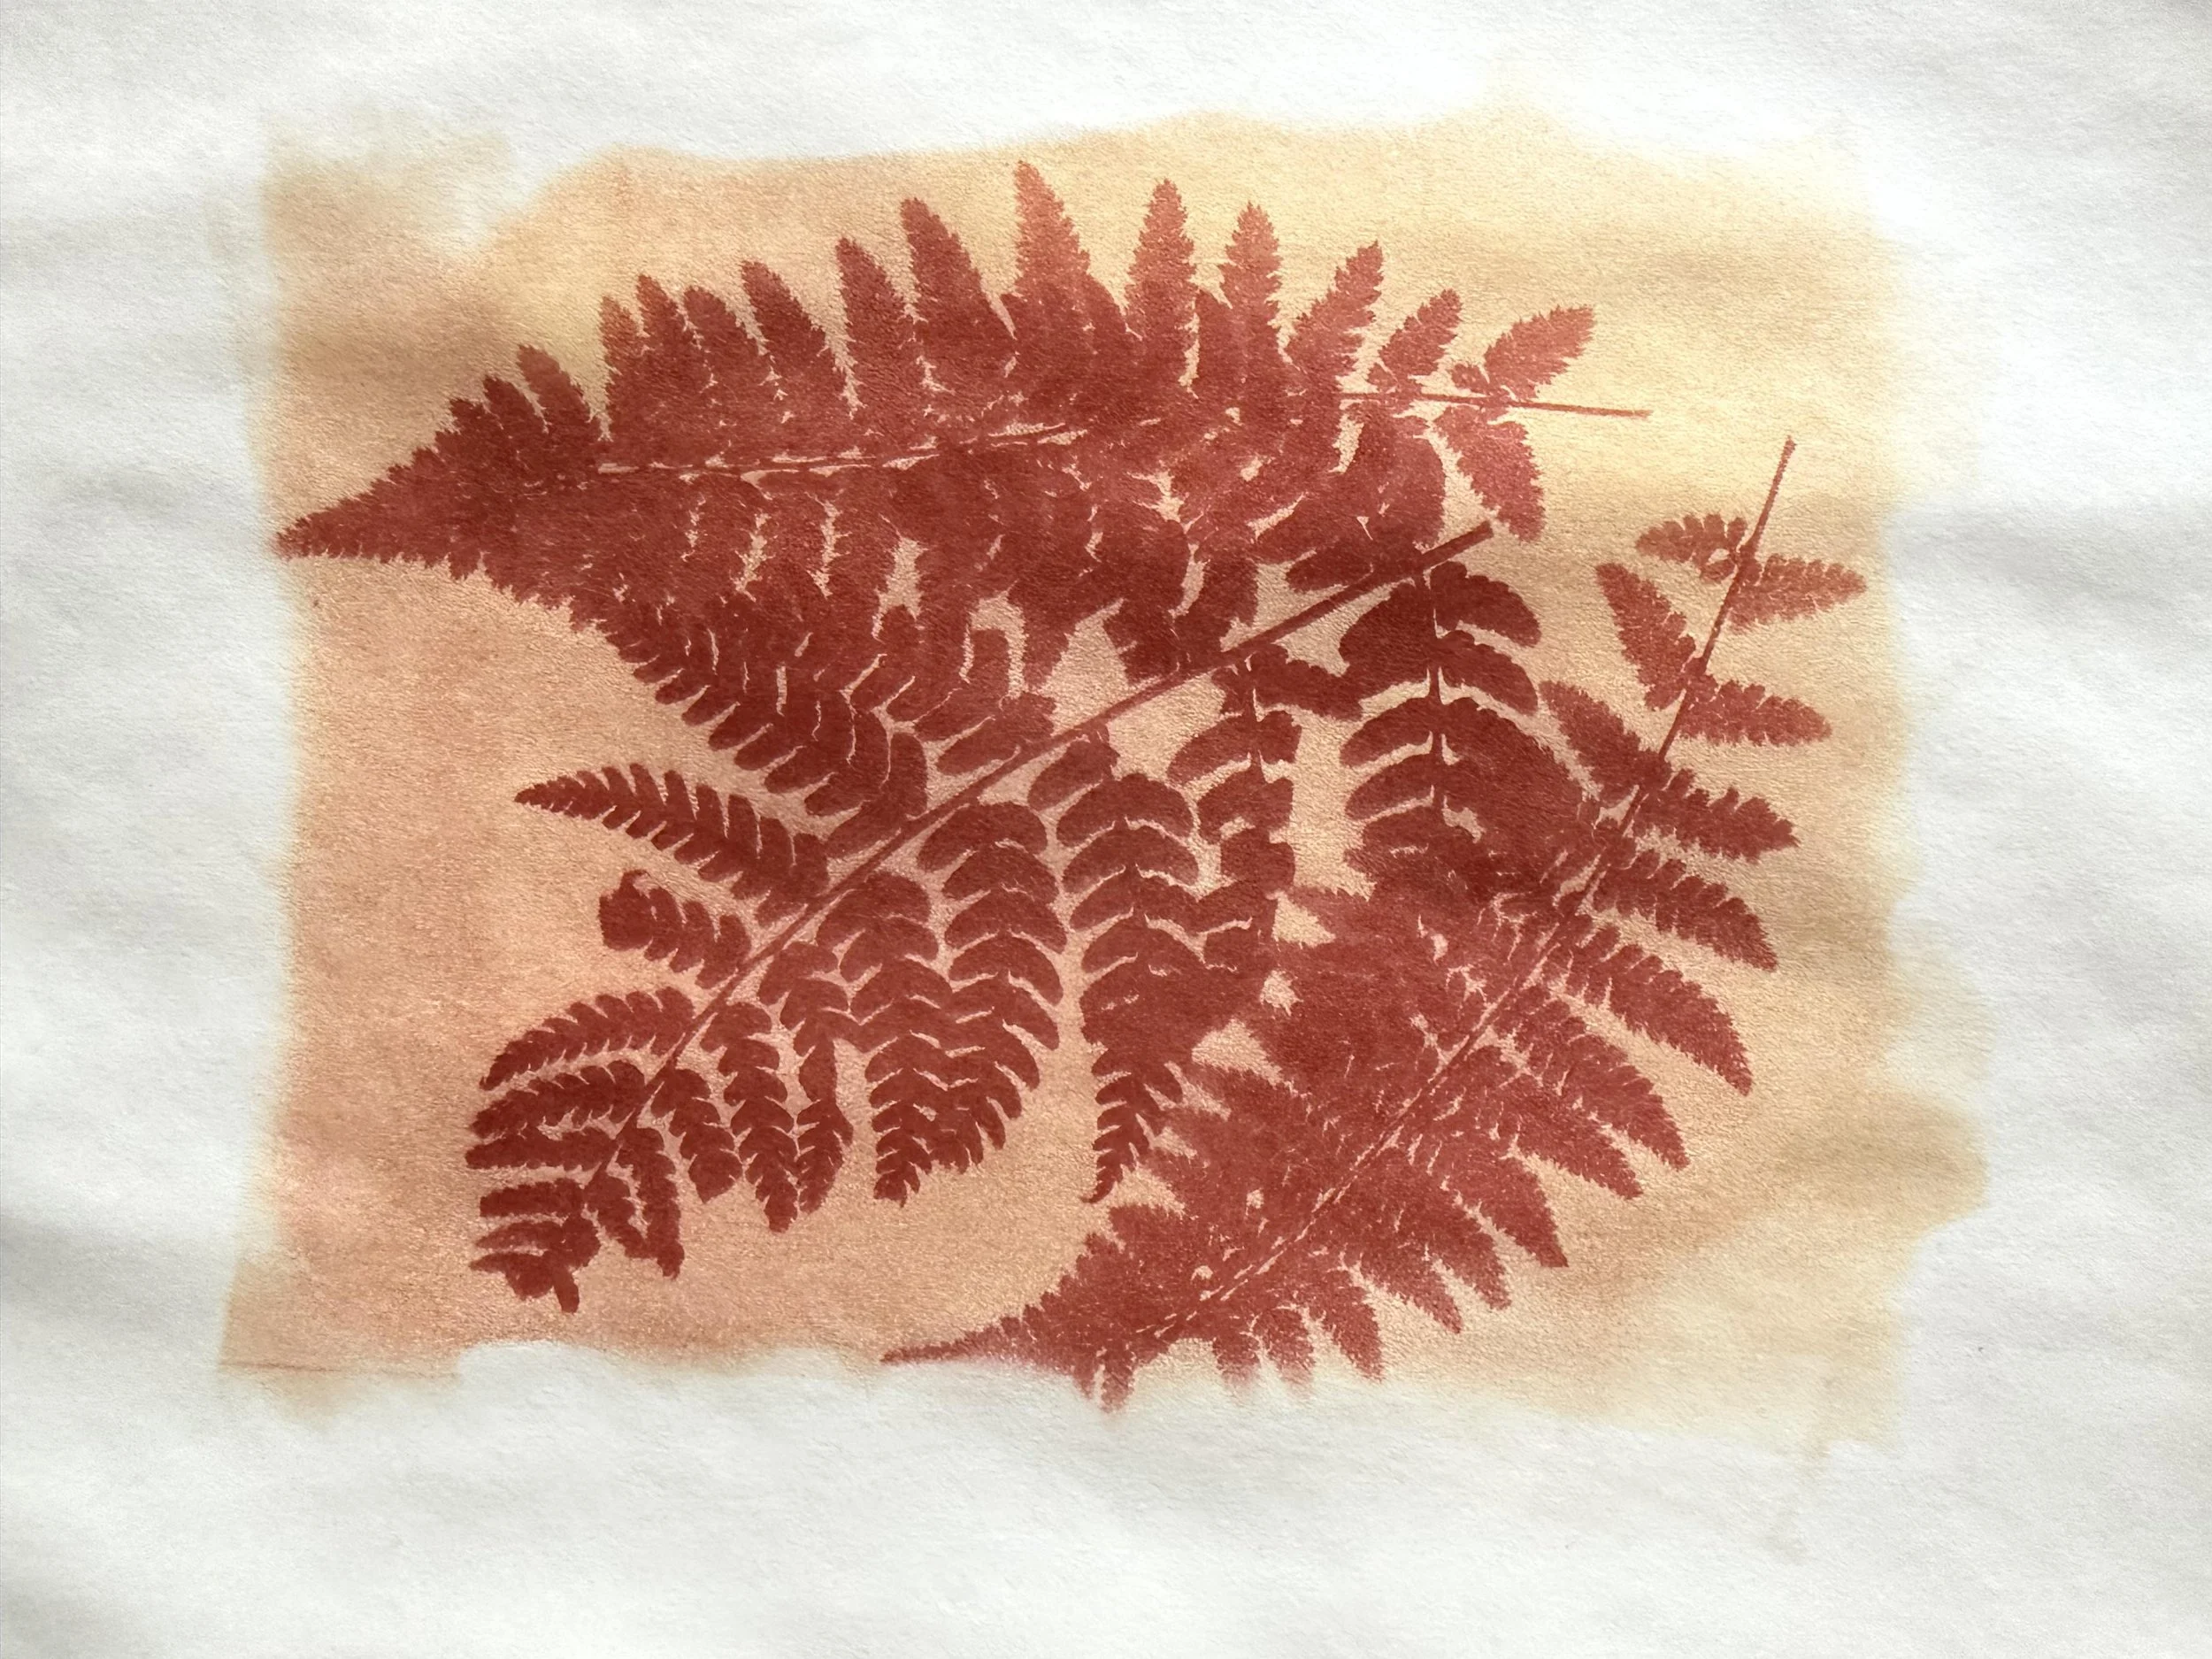
Fern anthotype
Sun Prints
An anthotype is a photographic print made with a solution of plant material and alcohol. I used turmeric, but all kinds of different plant materials can be used for a sun print project. The important thing is that the material being used has a strong color: Blueberries, spinach, parsley, spices, onion skins, beets, cabbage, and flower petals will all work. (For a look at the origin of anthotypes, check out “The Science and Poetry of Anthotypes: Emily Dickinson’s Herbarium, Recreated in Hauntingly Beautiful Flower Pigment Prints via a Victorian Imaging Process” at The Marginalian.)
What I Did
Make the solution
I used a paper coffee filter folded over the mouth of a small jar. I put a teaspoon or two of turmeric in the filter and poured rubbing alcohol over it to infuse the alcohol with the turmeric. You can mix the turmeric into the alcohol directly and then strain it afterward, too, or leave it in and don’t strain it if you want a grainy effect on the paper (I haven’t tried that).
Prep the paper
I used some old 8.5 x 11 matte card stock printer paper, but any paper that will hold up to some water will do. Lots of people like watercolor paper for anthotypes.
I used a foam brush I already had (you can buy these from craft stores or any general online store) to paint the turmeric and alcohol solution on the paper. Painting the solution on heavily will produce darker and rustier tones in the final image.
Let the paper dry somewhere dark.
Gather your artful shapes
I used dried flowers and leaves from my garden, but you can use anything that will block the light while the print develops: paper cut-outs, objects, even printed photos.
I haven’t tried with photos yet, but this tutorial notes that you’ll need a black and white photo printed on regular (thin) paper.
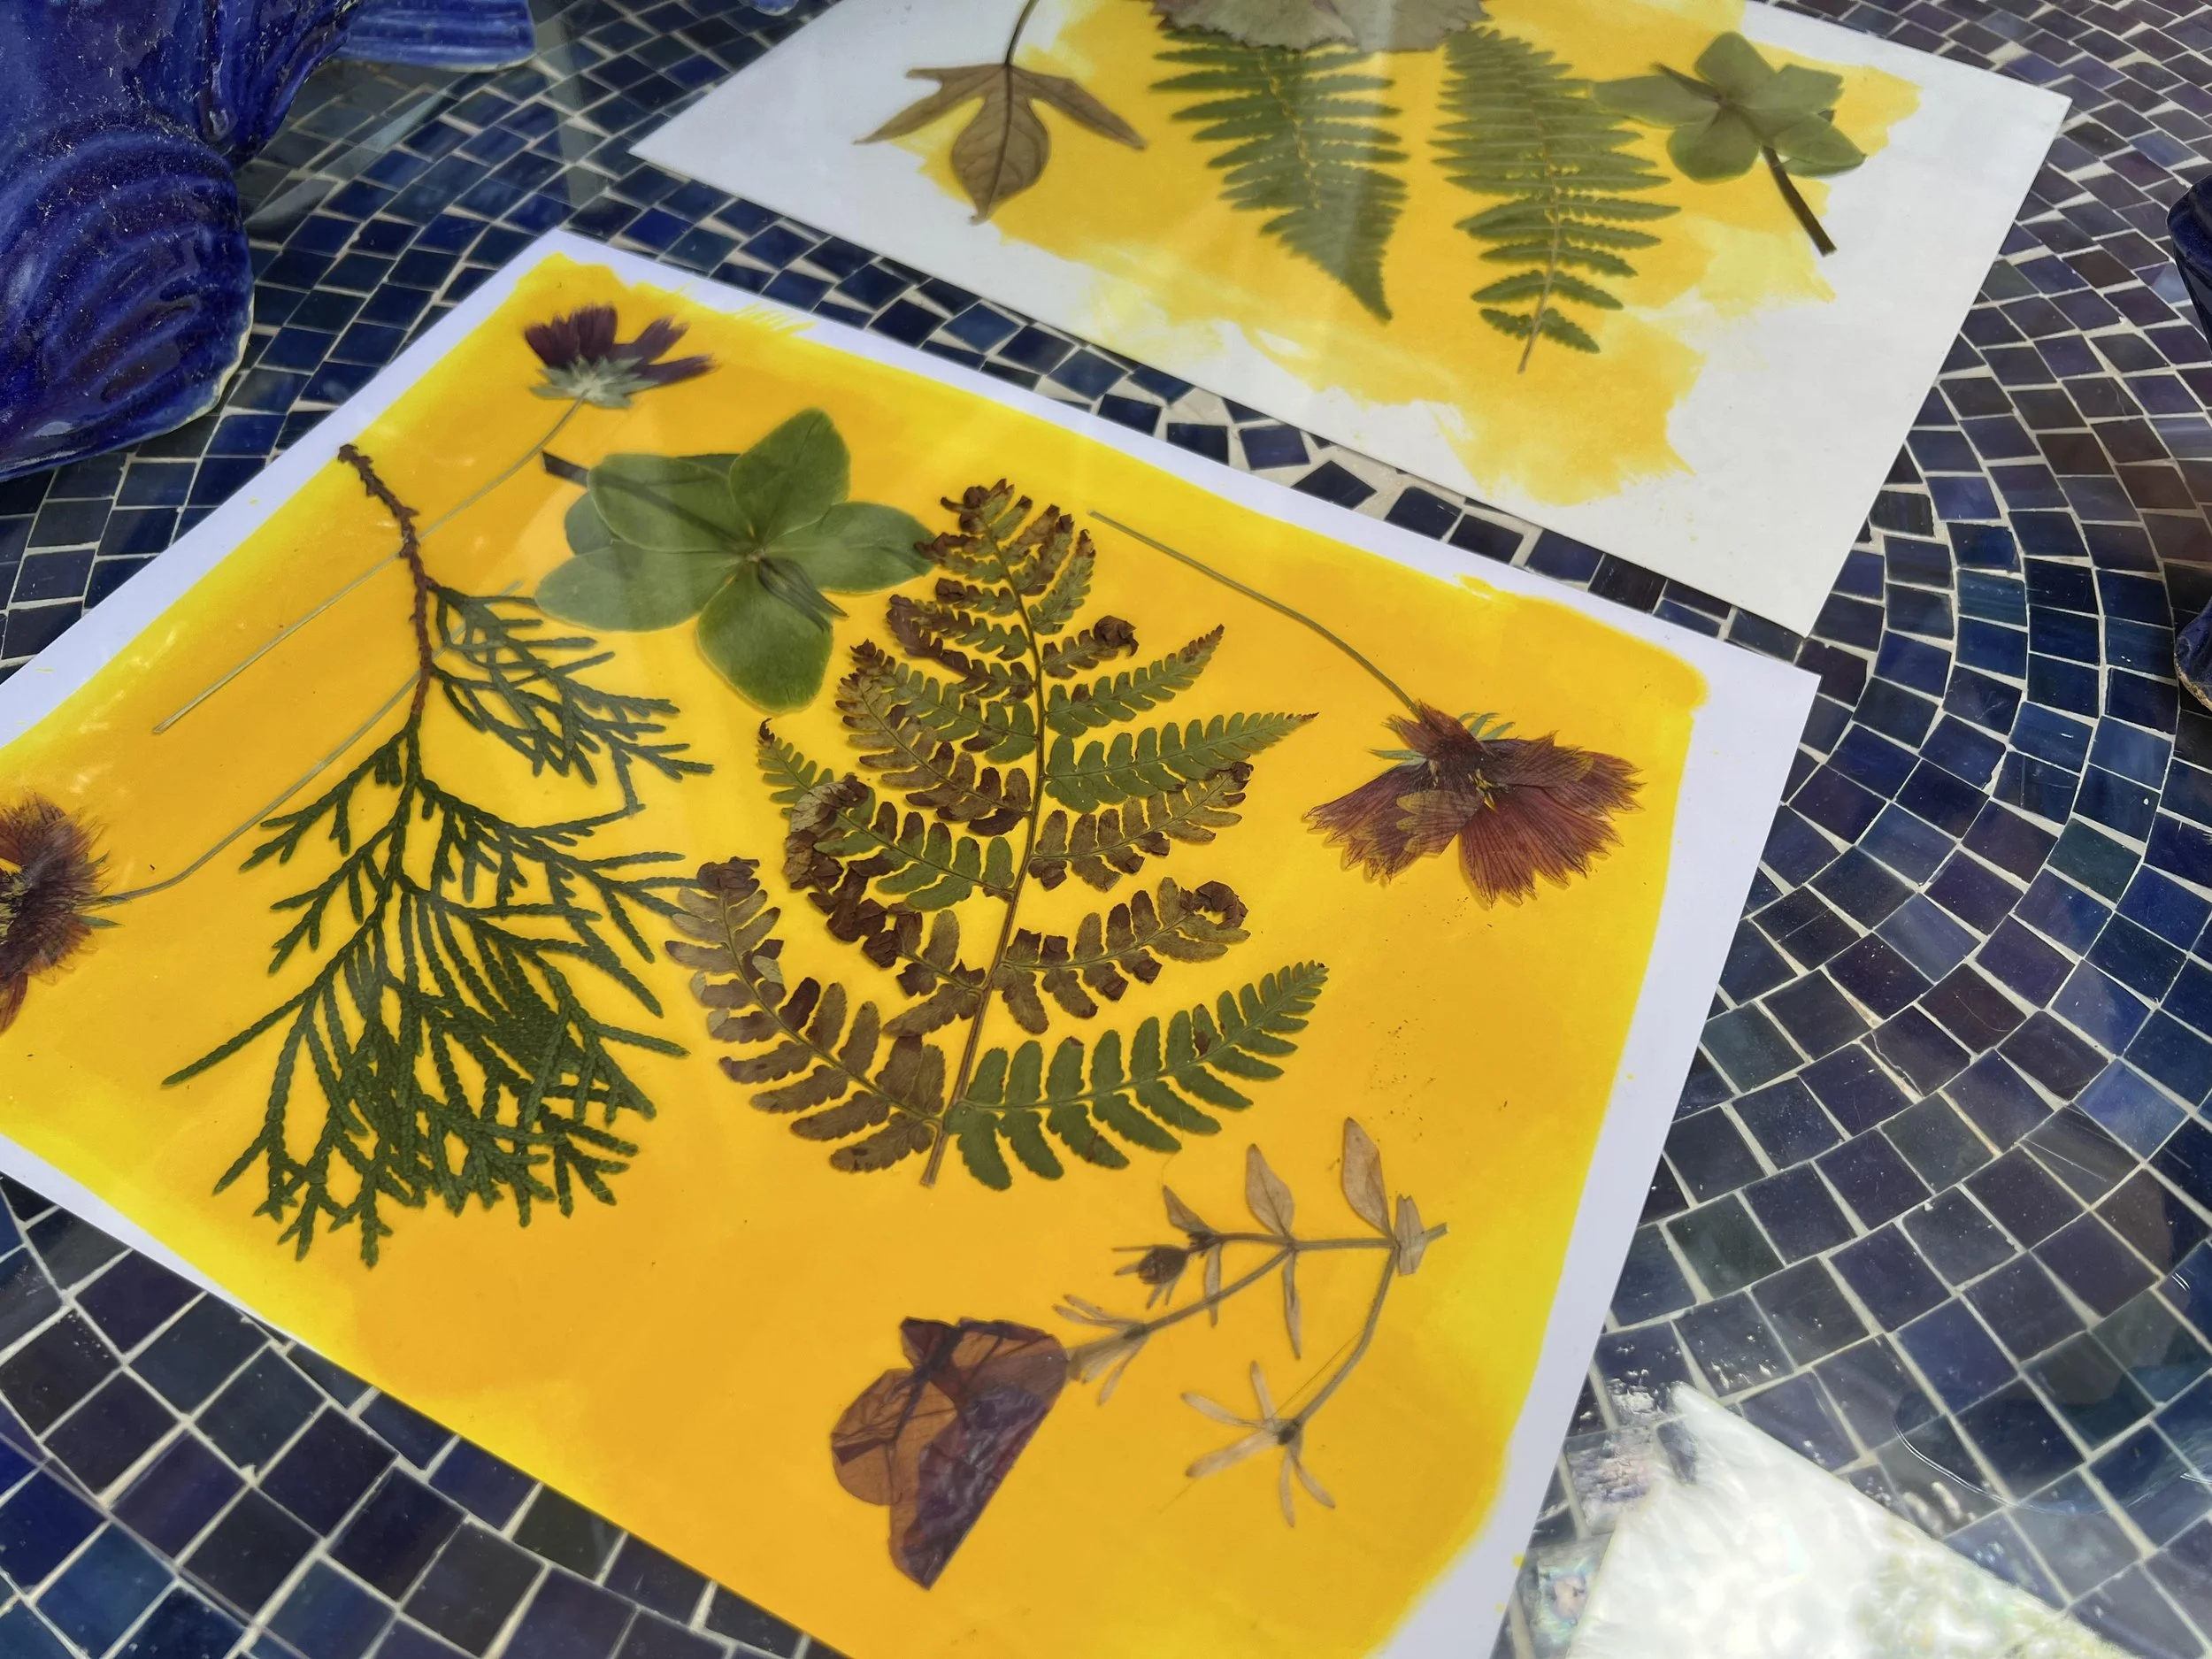
Exposing my first prints
Expose the image
Find a sunny place and arrange your artful shapes on your dry, prepped paper.
Weigh everything down with glass or plexiglass from a photo or poster frame (I used one from an old poster frame that fits three 8.5 × 11 sheets underneath). I saw a video where the artist used masking tape to anchor their artful shapes, so if you’re okay with the masking tape being part of the print, that could be fun to experiment with.
Put in direct sun if you can and wait until the exposed parts of the print have faded significantly. For me, this usually takes three hours or so.
Set the print
My approach has been to dissolve some baking soda in water. I don’t measure anything, I just grab a pan, put in enough water to allow me to submerge the paper, and mix in a generous amount of baking soda. Some tutorials use borax instead.
I dip the whole paper into the water and make sure that the whole surface is coated, but some tutorials call for putting the water and baking soda or borax solution in a bottle and spraying the print.
Now just let it dry and you have a sun print!
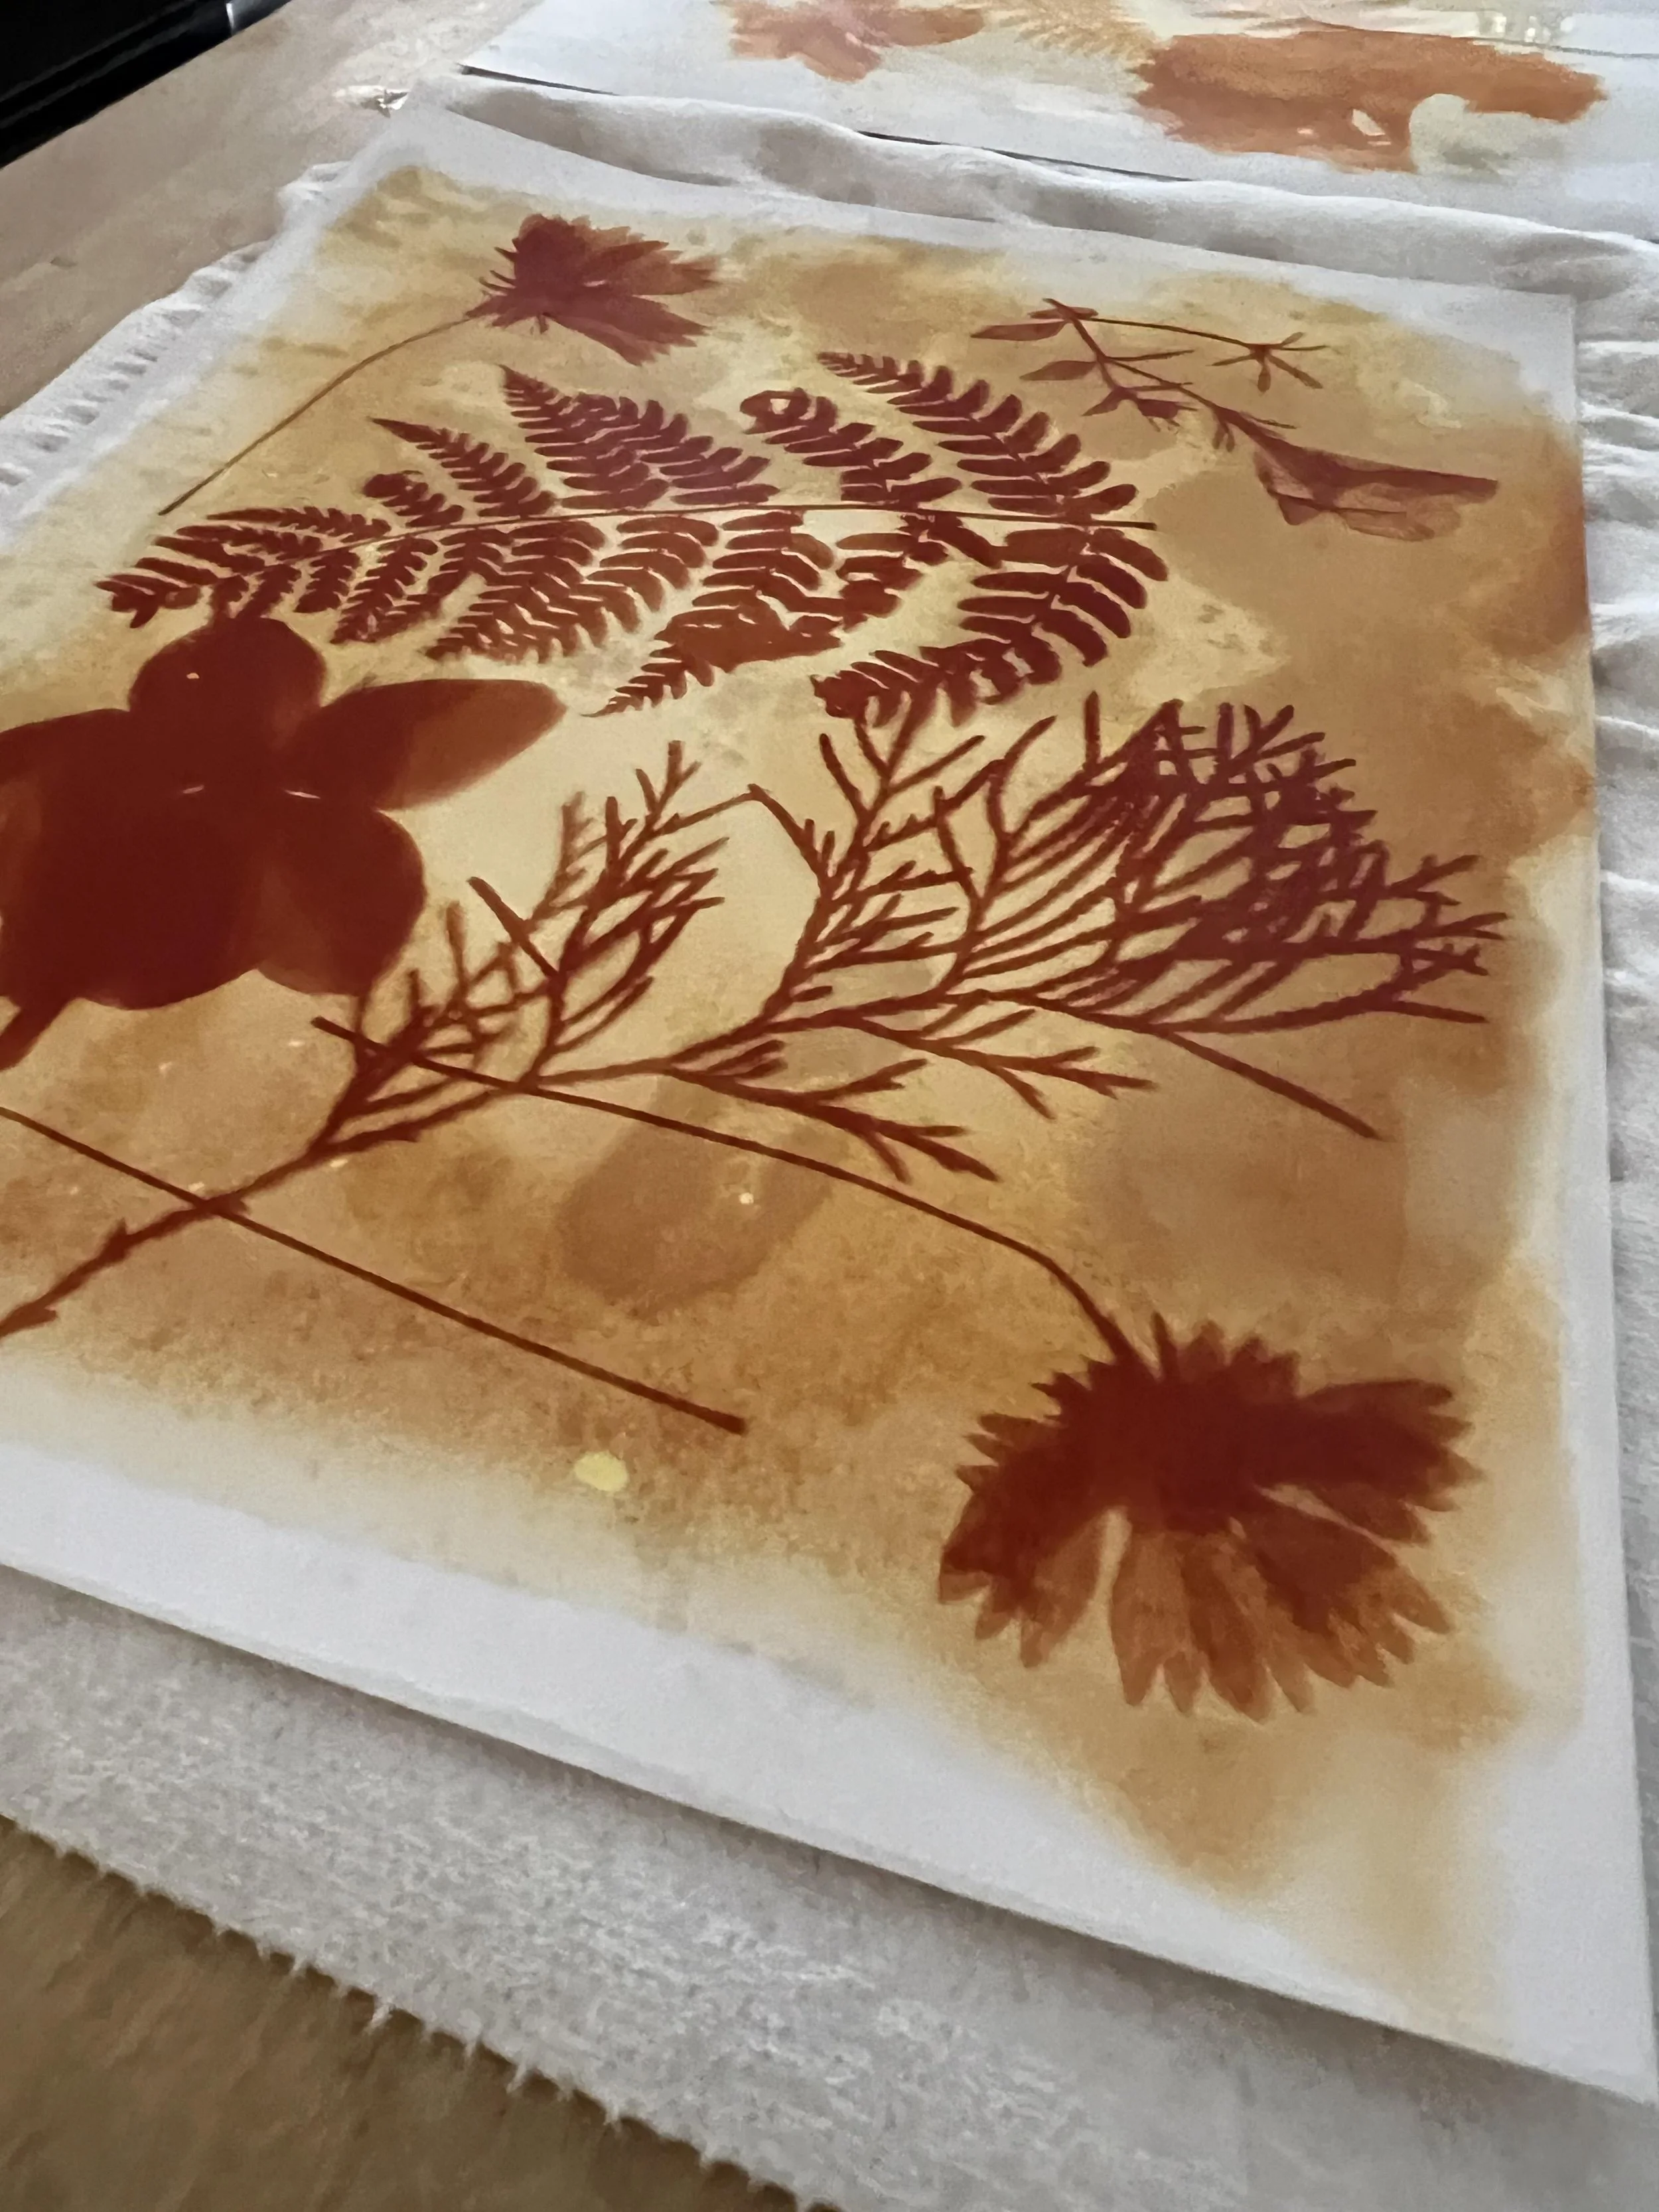
Drying the prints